This being my first week at SSW , and still waiting for my nice shiny new laptop to arrive, I am sitting here at my Wife’s laptop (which is PINK, a requirement to keep the WAF high), until it arrives.
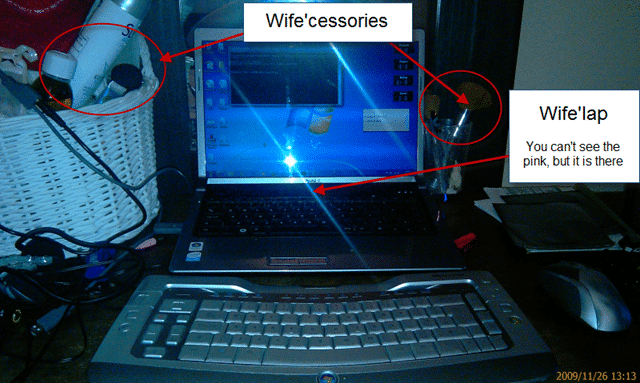
Figure: Current workspace…one wall short of working in a cupboard, but it beats trying to work with the kids underfoot.
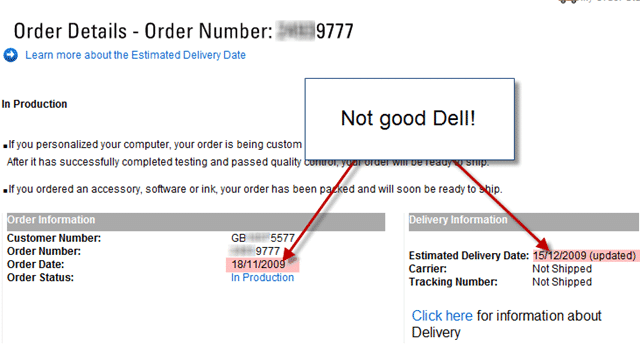
Figure: I know its nearly Christmas, but that’s a long time between order and delivery!
SSW have sent me a .wim (Windows Image) file in the post and I really want to get a look at it before my new computer arrives.
In order to be able to create a clean install very quickly we need to convert this to a Windows 7 VHD. This way when the new computer arrives we can just move it over :) I also want to be able to reinstall my computer quickly. And what is quicker then mounting a new VHD and rebooting.
In order to achieve this there are a number of things that need done:
-
Copy all of the .rar files from the DVD’s

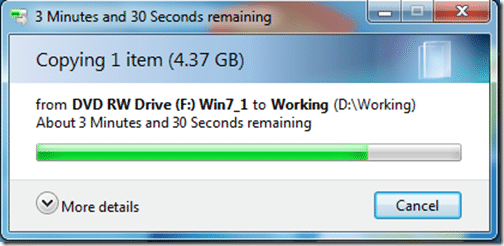
Figure: First disk nearly finished
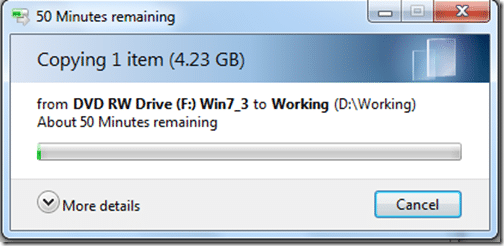
Figure: Third disk is taking a while
-
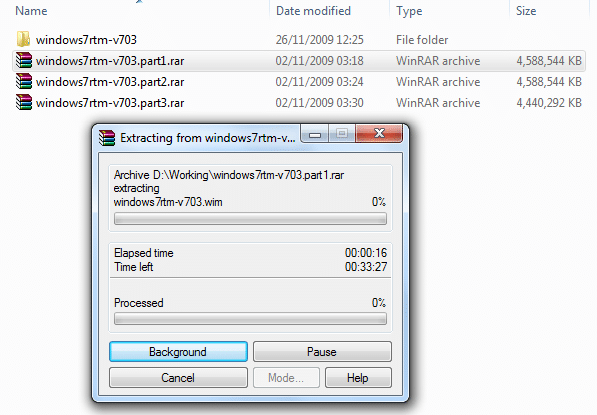
Use WinRar to fit the 3 packages back together
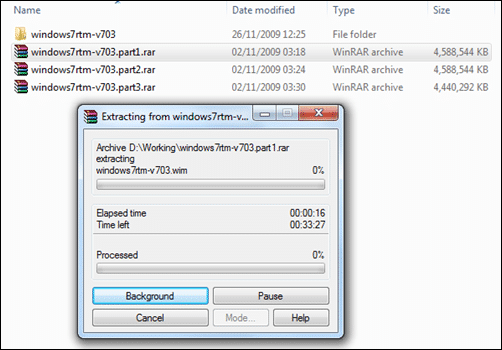
Figure: Joining the wim file together is going to take a while as well. I don’t want to have to do this more than once!
-
**Create a new VHD
**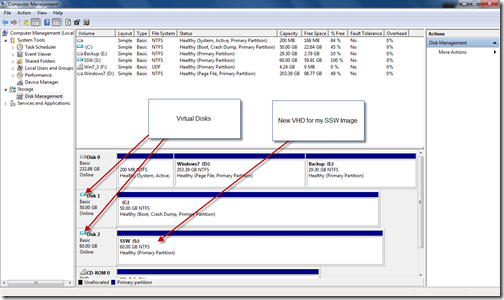
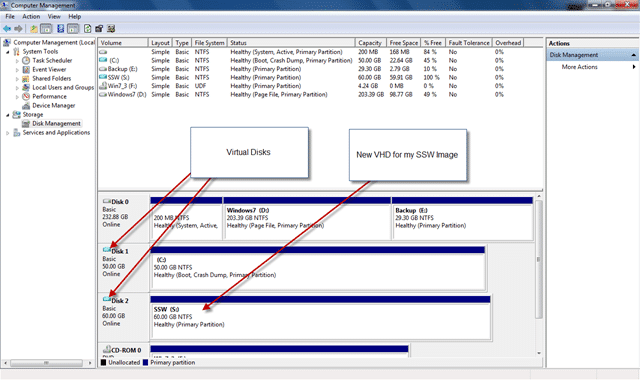
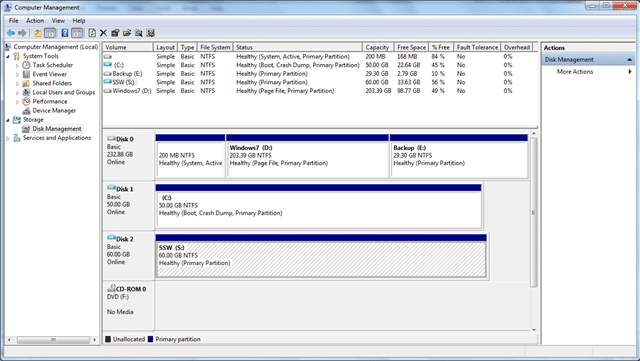
Figure: Showing the physical and Virtual disks on my wife’s pink laptop.
-
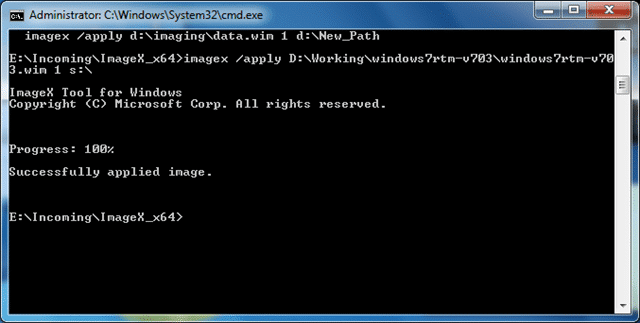
Deploy Image to new VDH
In order to do this you will need imageX from the Windows 7 Automated Installation Kit . Check http://blogs.technet.com/aviraj/archive/2009/01/18/windows-7-boot-from-vhd-first-impression-part-2.aspx for more details and scenarios that will suit you.
note: You may look at the Windows(R) Image to Virtual Hard Disk (WIM2VHD) Converter as another solution, but it requires that the Windows 7 Automated Installation Kit be installed locally, where I just downloaded imageX separately and bypassed the 1gb download.
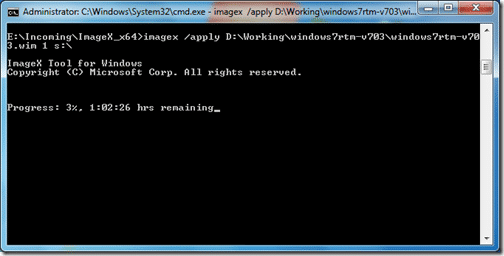
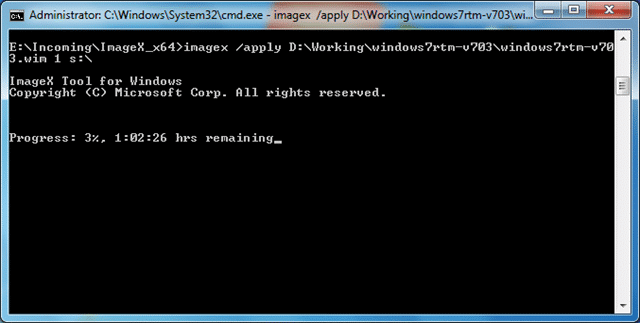
Figure: As usual, this is showing the remaining in “Microsoft Minutes”
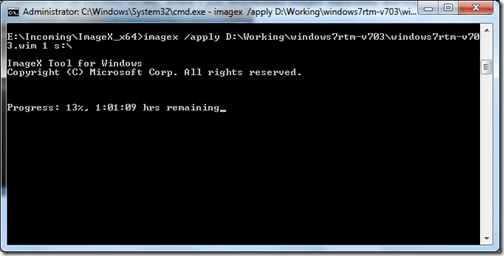
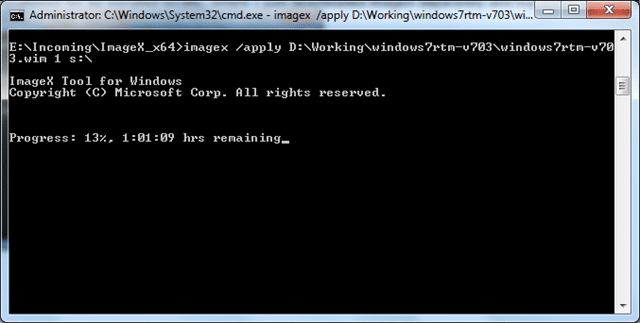
Figure: So 10% took just over a Minute? What is the rest of the hour for?
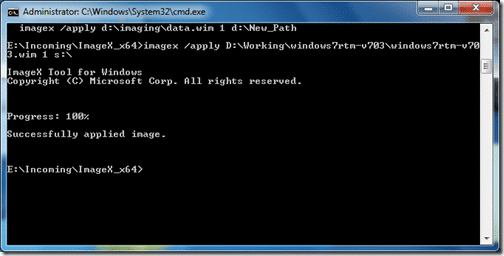
Figure: All done, I don’t know how long it took because I got on with some other things, but it was a while!
-
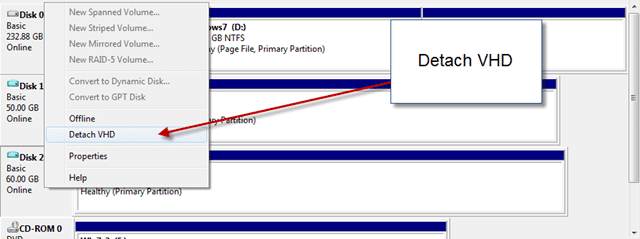
Detach the VHD
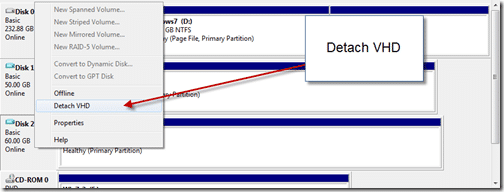
Figure: Detaching the VHD will allow us to copy it.
-
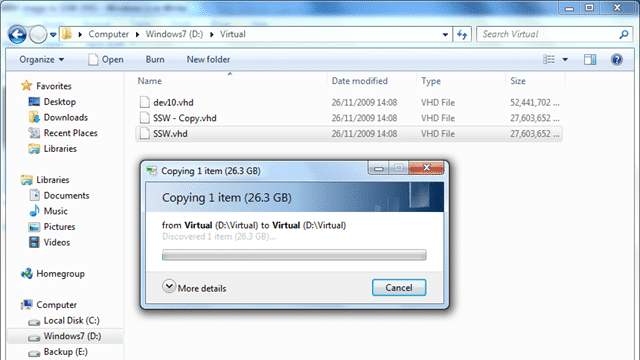
Copy the new VHD
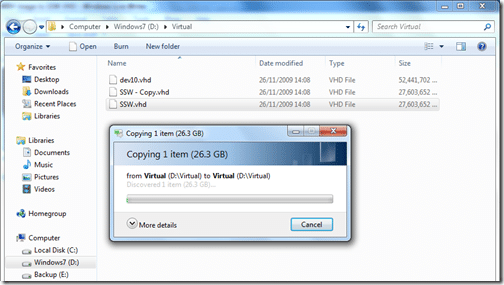
Figure: This will allow me to save ssw.vhd for a rainy day, and use the copy as a working install.
-
Rename the copy to “SSW_001.vhd”
-
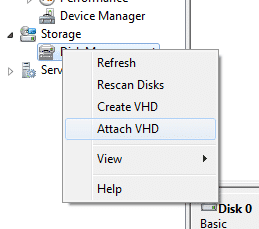
Attach SSW_001.vhd
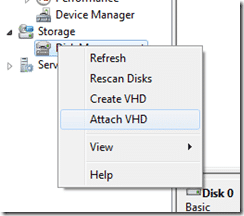
Figure: Attaching a VHD is very easy
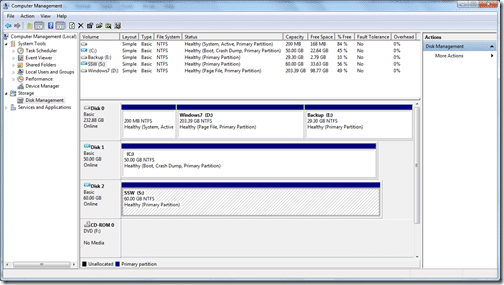
Figure:
-
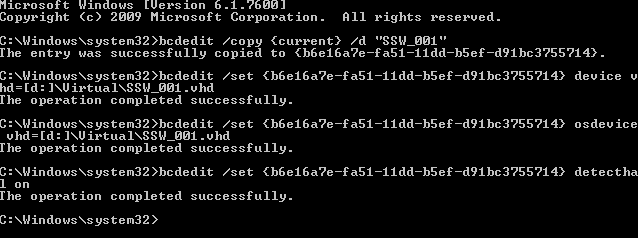
Add the new SSW*001.vhd to the boot list using the folowing commands:
**_C:>bcdedit /copy {current} /d “SSW_001”
C:>bcdedit /setdevice vhd=[driveletter:]
C:>bcdedit /setosdevice vhd=[driverletter:]
C:>bcdedit /setdetecthal on
*****Note:** detecthal is used to force windows to auto detect the Hardware Abstraction Layer.
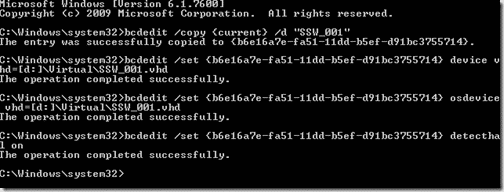
Figure: Added and configured the new Image…lets try it out…
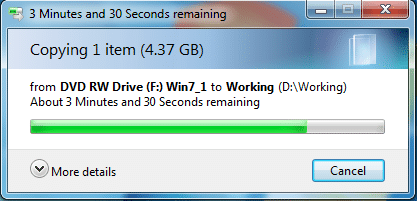
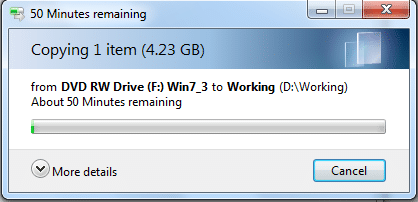
Although this took a long time with 3 long running processes, it will be a lot faster next time as I can start from step #9…
Smart Classifications
Each classification [Concepts, Categories, & Tags] was assigned using AI-powered semantic analysis and scored across relevance, depth, and alignment. Final decisions? Still human. Always traceable. Hover to see how it applies.
What to read next
Installing TFS 2012 with Lab Management 2012
Step-by-step guide to installing and configuring TFS 2012 with Lab Management, including SQL Server, SCVMM integration, troubleshooting, and …
Detecting agile theatre with real delivery signals
Why Most Companies Operating Models Fail in Dynamic Markets
A concise comparison of Predictive and Adaptive Operating Models, explaining why traditional structures fail in dynamic markets and how …
Don’t Manage Dependencies, Remove Them
Explains why dependencies are a sign of poor system design and outlines steps to eliminate them by aligning teams, clarifying ownership, and …
The Estimation Trap: How Tracking Accuracy Undermines Trust, Flow, and Value in Software Delivery
Tracking estimation accuracy in software delivery leads to mistrust, fear, and distorted behaviours. Focus on customer value, flow, and …
Flow of Value vs Flow of Work – Misnomer or Useful Shorthand?
Compares “flow of value” and “flow of work” in Kanban, explaining why only validated outcomes count as value and stressing the need for …
Why Outsourcing DevOps Fails, and How Real Engineering Excellence Starts With Your Team
Avoid DevOps vendor lock-in, discover how true engineering excellence starts with partnership, not outsourcing. Ready to transform your …